Setting Up Your First Node.js Application Step-by-Step
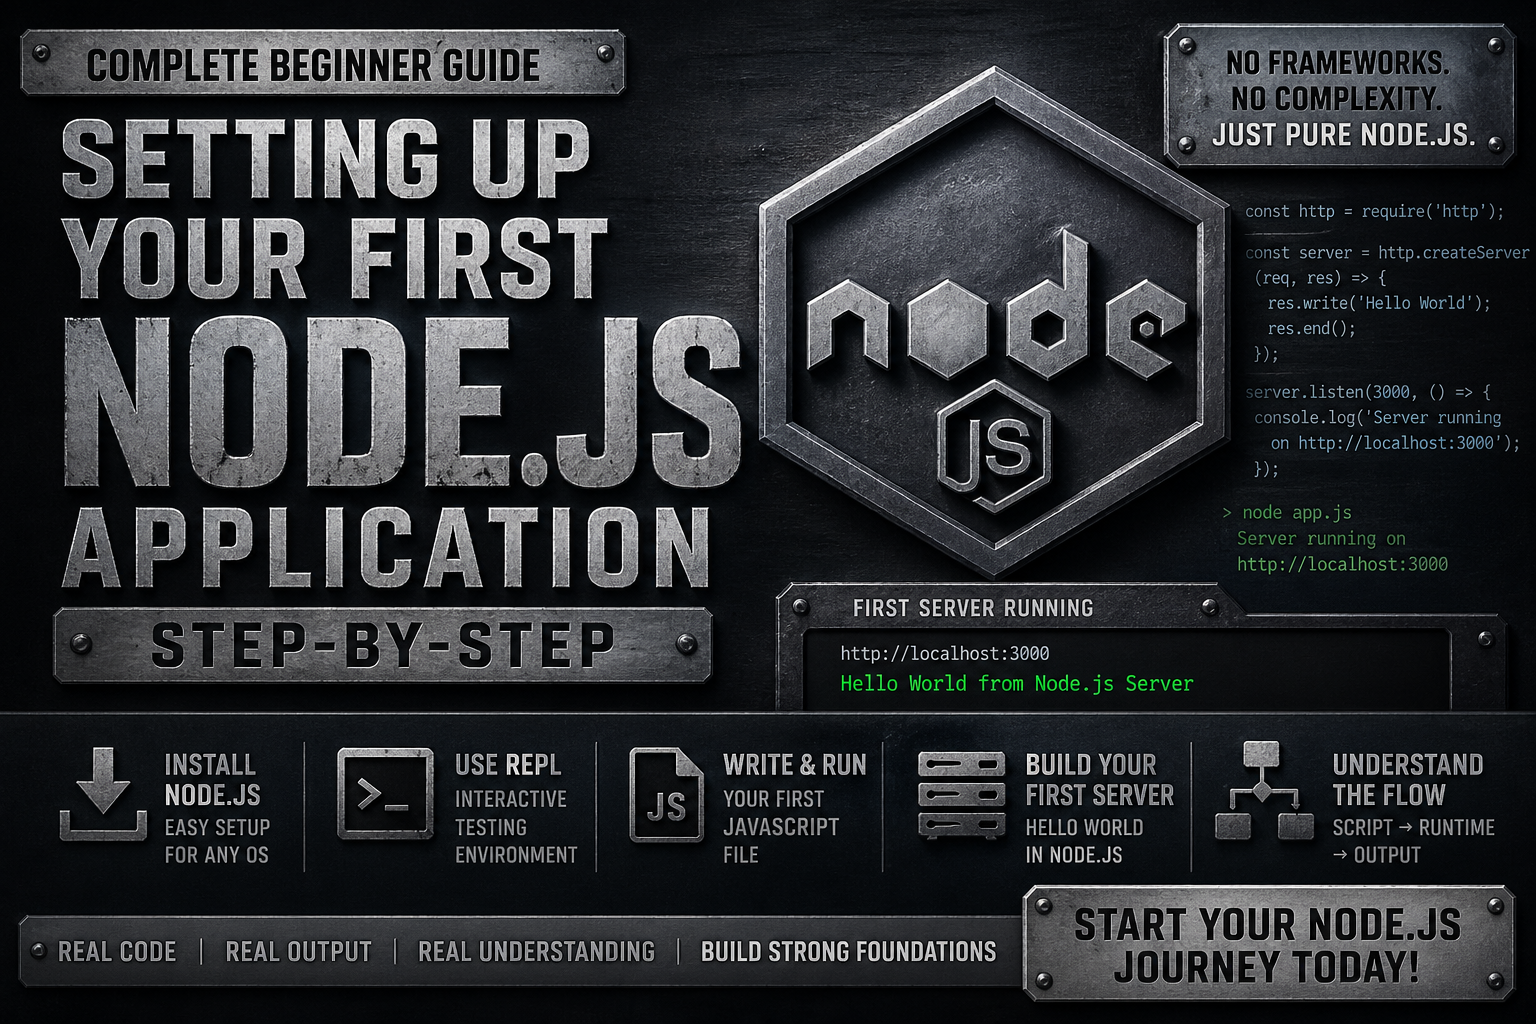
Node.js is one of the most important tools in modern backend development. It allows you to run JavaScript outside the browser and build scalable, fast, real-time applications.
If you're just starting, this guide will walk you through everything — from installation to running your first server — in a clean, practical, step-by-step way. No frameworks. No shortcuts. Just core understanding.
What You’ll Learn
How to install Node.js (OS-neutral)
How to verify installation using terminal
What Node REPL is and why it matters
How to create and run your first JavaScript file
How Node executes your code internally
How to build a simple "Hello World" server
1. Installing Node.js
Before writing any code, you need Node.js installed on your system.
Steps
Go to the official Node.js website
Download the LTS (Long Term Support) version
Install using default settings
Why LTS?
More stable
Fewer bugs
Recommended for beginners and production
2. Verifying Installation
Once installed, open your terminal (Command Prompt / PowerShell / Terminal).
Run:
node -v
Expected output:
v18.x.x (or any version)
Also check npm (Node Package Manager):
npm -v
If both commands return versions, your setup is correct.
3. Understanding Node REPL
Before writing files, let’s understand the REPL.
REPL stands for:
Read
Evaluate
Print
Loop
It’s an interactive environment where Node executes code instantly.
Start REPL
node
Now you can type JavaScript directly:
> 2 + 3
5

> const name = "Chittaranjan"
undefined

> name
"Chittaranjan"
Why REPL is Useful
Quick testing
Debugging logic
Learning JavaScript behavior
Node REPL in Action


4. Creating Your First JavaScript File
Now move from interactive mode to real application development.
Step 1: Create a file
Create a file named:
app.js
Step 2: Add code
console.log("Hello from Node.js");
5. Running Your First Script
Run the file using:
node app.js
Output
Hello from Node.js
How Node Executes Your Code
This is where most beginners miss clarity.
Flow:
You write JavaScript (
app.js)Node reads the file
V8 Engine compiles it
Executes it
Output appears in terminal
Node Execution Flow


Script → Runtime → Output


6. Writing Your First HTTP Server
Now we step into the most important part: creating a server.
Step 1: Update app.js
const http = require("http");

const server = http.createServer((req, res) => {
  res.write("Hello World from Node.js Server");
  res.end();
});

server.listen(3000, () => {
  console.log("Server running on http://localhost:3000");
});
7. Running the Server
Run:
node app.js
Open browser:
http://localhost:3000
Output:
Hello World from Node.js Server
Server Execution Flow


What Just Happened?
Let’s break it down:
require("http")
Loads Node’s built-in HTTP module
createServer()
Creates a server instance
(req, res)
req→ incoming requestres→ outgoing response
res.write()
Sends data to client
res.end()
Ends the response
server.listen(3000)
Starts server on port 3000
Important Observations
Node is event-driven
It handles requests asynchronously
It is non-blocking
Everything runs on a single thread
Common Beginner Mistakes
1. Forgetting res.end()
Browser keeps loading forever
2. Port already in use
Error:
EADDRINUSE
Solution: Change port or close existing server
3. File not found
Make sure you are in correct directory:
cd folder-name
REPL vs Script vs Server
| Concept | Use Case |
|---|---|
| REPL | Quick testing |
| JS File | Writing programs |
| Server | Handling requests |
Real Understanding (Important Insight)
Many beginners treat Node as "just running JavaScript".
That’s incomplete.
Node is:
A runtime
Built on V8 engine
Provides system-level APIs
Enables backend development using JavaScript
Why This Setup Matters
This simple setup teaches:
How execution works
How server responds
How runtime behaves
Everything else (Express, NestJS, etc.) is built on top of this.
If you understand this deeply, frameworks become easy.
What You Should Practice Next
Modify response text dynamically
Log request URLs
Send JSON response
Handle multiple routes manually
Example:
if (req.url === "/about") {
  res.write("About Page");
}
Final Thoughts
You’ve just built your first Node.js application from scratch.
Not using frameworks is intentional — because:
You understand the core
You see how things actually work
You avoid blind dependency on tools
This foundation is what separates average developers from strong engineers.
Quick Recap
Installed Node.js
Verified setup
Used REPL
Created JS file
Ran script
Built HTTP server


